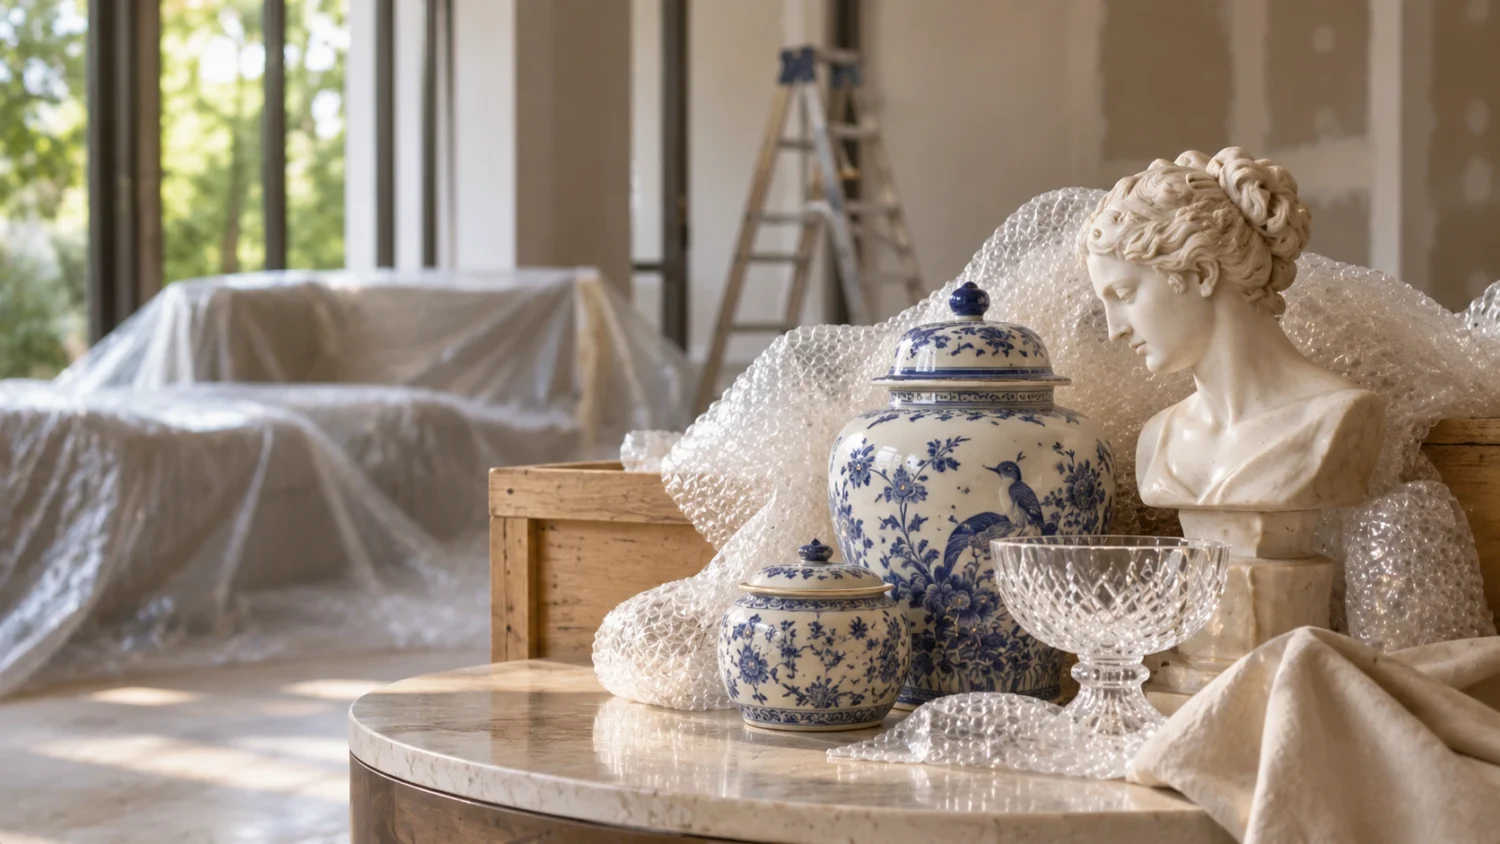

Major home renovations create dust, vibration, and constant movement, all of which can damage delicate furnishings and treasured belongings. Leaving those items under a sheet in the spare room rarely provides enough protection, especially during demolition, sanding, or painting. The safest option is to identify vulnerable pieces before work starts, document their condition, and move them beyond the active building zone. A clear plan also gives tradespeople more room to work and reduces the chance of accidental knocks.
Dust and Site Hazards Put Heirlooms at Risk
Renovation dust travels through door gaps, vents and adjoining rooms. Fine particles can settle inside clock mechanisms, woven upholstery and carved timber, while plaster and concrete dust may scratch polished surfaces during cleaning.
Start by listing artwork, antiques, ceramics, books and sentimental objects that need protection. Photograph each item from several angles and record any existing marks. Remove them before demolition begins, not once dust appears. Even rooms outside the immediate work zone may experience vibration, temperature changes, and heavier foot traffic. Household renovation safety tips also support keeping living areas organised and separating residents from building activity.
Protect Finishes with Climate-Aware Storage
Choose an environment suited to the materials you’re storing. Timber can expand or contract when humidity changes sharply, canvas may develop mould in damp conditions, and photographs can stick together when exposed to moisture. Avoid garages, sheds and shipping containers unless they provide suitable weather protection, and you understand how conditions inside may fluctuate.
For longer projects, securing off-site storage can keep your belongings away from dust, accidental impacts and everyday disruption. Ask about weatherproofing, monitoring arrangements, access conditions and flexible timeframes before booking.
Also keep delicate items off the floor on stable shelving or pallets. Allow air to circulate around boxes and never place heavy cartons on upholstered furniture. If your home renovation runs through a humid summer or a cold winter, inspect stored pieces periodically for condensation, odors, or packaging damage.
Wrap and Transport High-Value Pieces Safely
Use material-specific packing methods because one type of wrap won’t suit every object. Acid-free tissue works well around photographs, prints and paper keepsakes. Clean cotton sheets or furniture blankets protect timber without trapping as much moisture as plastic. Bubble wrap can cushion ceramics and glass, though it shouldn’t sit directly against a painted or polished finish for months.
Pack small pieces in sturdy cartons with no empty space that allows movement. Place heavier objects at the bottom, add cushioning between layers, and label boxes as fragile on several sides. Write the contents on an inventory sheet instead of advertising valuable details on the carton.
Large mirrors and framed artworks should travel upright in fitted cartons. Remove loose shelves from cabinets and secure doors without applying adhesive tape to the finish. Measure doorways, lifts and vehicle openings before moving oversized furniture, then assign enough people to lift it without twisting or dragging.
Plan Staged Reintroduction After Cleanup
Don’t return delicate pieces as soon as the builders pack up. Fresh paint, sealants and flooring products may still be curing, while fine dust can remain on ledges, inside cupboards and around vents. Arrange a detailed clean, replace or clean relevant filters and allow rooms to air before unpacking textiles or paper items.
After getting the items, compare them with your original photographs and note any change in condition. A slow, room-by-room process prevents clutter from hiding unfinished defects. Once the final heirloom is safely positioned, keep the inventory and photos with your renovation records so they’re ready for the next move or maintenance project.