
On most custom home builds, fencing is often the last line item considered. After resolving the architecture and refining the landscape plans, someone finally asks what is going along the boundary. By that stage, choices are often dictated by whatever is left in the budget – even though specialist suppliers like Queensland Fencing Specialists offer Hamptons-style and full-privacy PVC ranges that could have been seamlessly integrated into the architectural plan from day one.
The result is all too common: a beautifully designed home fronted by a fence that looks like an afterthought. Bringing boundary decisions into your build brief early costs virtually nothing, yet it prevents costly redesigns once turf, paving, and footings are already in place.
Start with an Accurate Site Survey
Before any fence design is drafted, verify the true boundary lines. On new builds and knockdown-rebuilds, old fence lines are frequently off by a surprising margin. Investing in a surveyor’s pegs early costs far less than rectifying a misplaced masonry pier later.
Note: In Queensland, survey costs can often be shared with adjoining owners under dividing fence regulations if a shared boundary is involved.
Zone Your Boundaries by Function
A single fence style rarely meets the needs of an entire property. Mark each boundary on your site plan according to its primary function:
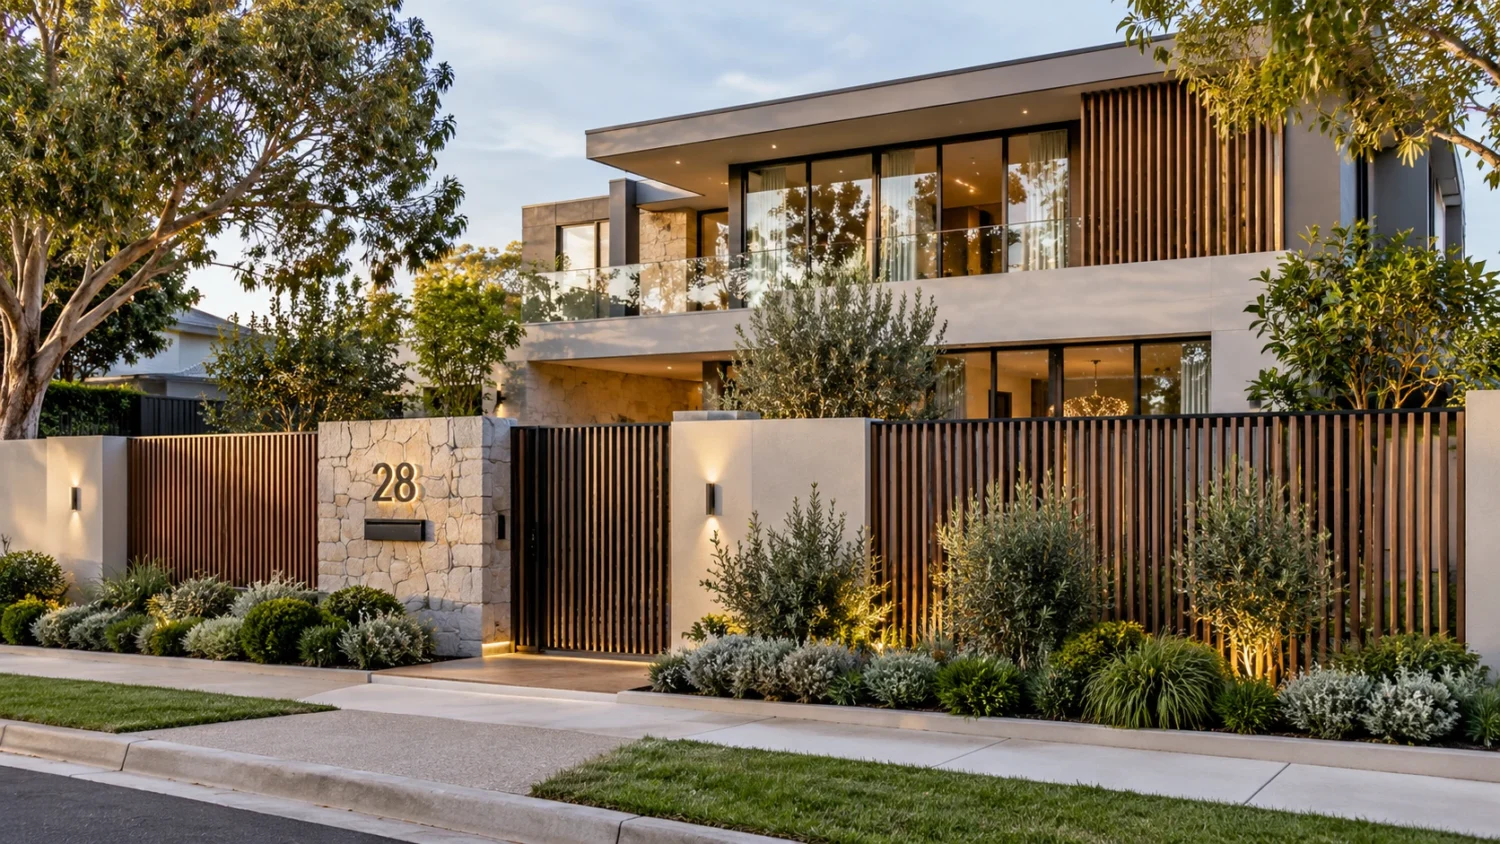
– Street Frontage: Focuses on street appeal and clear entryways. Lower, more open styles flatter the home’s architecture without obscuring the facade.
– Side Boundaries: Focuses on screening utility areas (bins, hot water systems, and air conditioning units) and providing privacy from neighboring windows.
– Rear Boundary: Focuses on full outdoor living privacy, typically at 1.8 to 2 metres in height.
– Pool Zone: Prioritises strict safety compliance first and visual design second.
Defining these zones early allows your builder to plan post footings and gate access correctly, while your landscape architect can set ground levels with exact post locations in mind.
Master Pool Barrier Compliance Early
Pool barriers are where fencing requirements and landscape design most frequently collide. Queensland’s pool safety standards mandate a barrier height of at least 1,200mm from finished ground level, with no more than a 100mm clearance underneath. Crucially, it requires a 900mm Non-Climbable Zone (NCZ) – a rule that catches many landscape plans off guard when raised garden beds or retaining walls fall within that zone.
Two effective design strategies:
1- Keep the zone clear: Ensure all landscaping, structures, and climbable objects remain completely outside the 900mm radius from the start of the design phase.
2- Raise the fence height: Where a pool runs along a boundary, raise that section of the boundary fence to at least 1,800mm. At this height, the non-climbable zone can be measured on the inside of the pool area, freeing up the outside layout.
Remember that pool gates must swing away from the pool area and feature self-closing, self-latching mechanisms. Factor this swing radius into your pathing layouts and resolve all barrier details with your certifier during the design phase rather than on-site.
Choose Materials Built for the Queensland Climate
Intense UV exposure, summer storms, and coastal salt air take a heavy toll on boundary materials. Select options engineered to handle the climate:
– Rendered Masonry: Delivers strong architectural presence that complements modern facades. However, it requires engineered footings, represents a higher cost per metre, and has a longer build timeline.
– Timber Battens: Offer natural warmth and character. Hardwood requires regular oiling to maintain its tone, while untreated softwood palings have a limited lifespan through wet Queensland summers.
– Aluminium Slat Screens: Provide clean, contemporary lines with minimal maintenance. On coastal properties, ensure the powder-coat warranty covers marine/salt exposure.
– Premium PVC Fencing: A highly durable alternative to traditional timber. Quality PVC systems utilize virgin, UV-stabilised material with aluminium-reinforced rails to prevent sagging over long spans. Engineered with routed posts and internal fixings, PVC requires no repainting or sealing—an ideal low-maintenance solution for humid or coastal environments.
Plan for Wind Load, Height, and Retaining Walls
Solid fences act like sails under heavy winds. A 2-metre full-privacy panel experiences significantly higher wind loads than an open picket fence, requiring larger post profiles and deeper footings – especially on elevated or waterfront sites.
Key Structural Considerations:
– Building Approvals: In Queensland, standalone fences up to 2 metres around an existing home generally do not require building approval (unless serving as a pool barrier or retaining wall). On new builds, confirm approval requirements directly with your certifier.
– Dividing Fence Thresholds: On shared boundaries, 1.8 metres is the standard limit for a “sufficient” fence under Queensland law. If your design specifies a 2-metre fence for added privacy, expect to fund the cost difference.
– Retaining Walls: Fences installed on top of retaining walls must be engineered as a combined system. Integrate post footings into the retaining wall design before construction begins.
Perfecting Architectural Details
To achieve a cohesive aesthetic – particularly for Hamptons or coastal designs, align your fencing details with the architectural features of the main house:
– Match Joinery Profiles: Select post caps that echo verandah posts, and align picket spacing with your balustrade design.
– Lighten Long Runs: Use lattice-top or picket-top panel options on side returns to break up long, solid boundary lines.
– Utilise Integrated Systems: Purpose-designed PVC panel ranges offer off-the-shelf lattice and picket toppers, making it easy to mirror custom joinery without site-building every section.
Budgeting, Sequencing, and Covenants
Treat fencing as a core structural element within your main build program:
1- Budget Early: Allocate a dedicated fencing allowance alongside your landscaping budget. Include costs for pedestrian gates, driveway automation, post lighting, and hardware.
2- Sequence Correctly: Install fence posts prior to final landscaping and turf laying to avoid disturbing newly laid lawn or garden beds.
3- Review Estate Covenants: Check developer guidelines early. Many master-planned communities enforce strict rules regarding front fence heights, transparency percentages, and approved materials. Identifying these requirements during the design stage ensures your front boundary complements your custom build from day one.
You Might Also Like