
A custom home gives you a rare shot at getting the plumbing right from the first sketch, before the walls go up and the decisions get locked in behind them. Most homeowners spend hours choosing tile and cabinetry, then leave the pipes, drains and hot water system as an afterthought for the trades to sort out on site. That order tends to backfire, because rerouting a drain line after the slab is poured costs far more than moving a line on paper. Working with an experienced team offering professional plumbing services early in the design phase means fixture layouts, water pressure and drainage paths get resolved before concrete goes down, not after, which saves both money and a good deal of frustration later in the build. It also gives your architect and builder a chance to design around the plumbing rather than squeezing it into whatever space is left.
Map Your Household’s Water Needs First
Before anyone talks about pipe diameter, sit down and map how your household actually uses water. A family of five showering before school needs different pressure and hot water recovery than a couple who mostly cooks and does laundry on weekends. List every wet area in the home: kitchen, bathrooms, laundry, outdoor taps, pool equipment and any wine fridge or coffee station that needs its own water line. Laundries get overlooked more often than any other room, until renovation day arrives and owners realise the trough, washing machine and dryer vent are all competing for the same wall cavity. Anyone curious how much can go wrong when this step gets skipped should look at what a typical laundry renovation plan has to undo and rebuild before it can start again. Doing this mapping now, on paper, costs nothing. Doing it after the slab is poured costs thousands, and it usually means living with a compromise for years.
Know the Plumbing Code Before You Design
Plumbing in Australia isn’t a matter of taste or contractor preference; it’s regulated. The National Construction Code sets minimum standards for water services, sanitary drainage, and cross-connection control, and every custom build must meet it before a plumber can sign off on the work. Rules covering pipe sizing, backflow prevention and drainage layout get updated periodically, so an approach your builder used three years ago may no longer apply today. Bring your plumber into the design conversation early, while the floor plan is still flexible; handing over finished drawings and asking them to make it comply after the fact costs more time than it saves. A code review at concept stage is cheap. A code review after council submission rarely is, and it can push your whole build back by weeks.
Choose Pipe Materials for the Long Haul
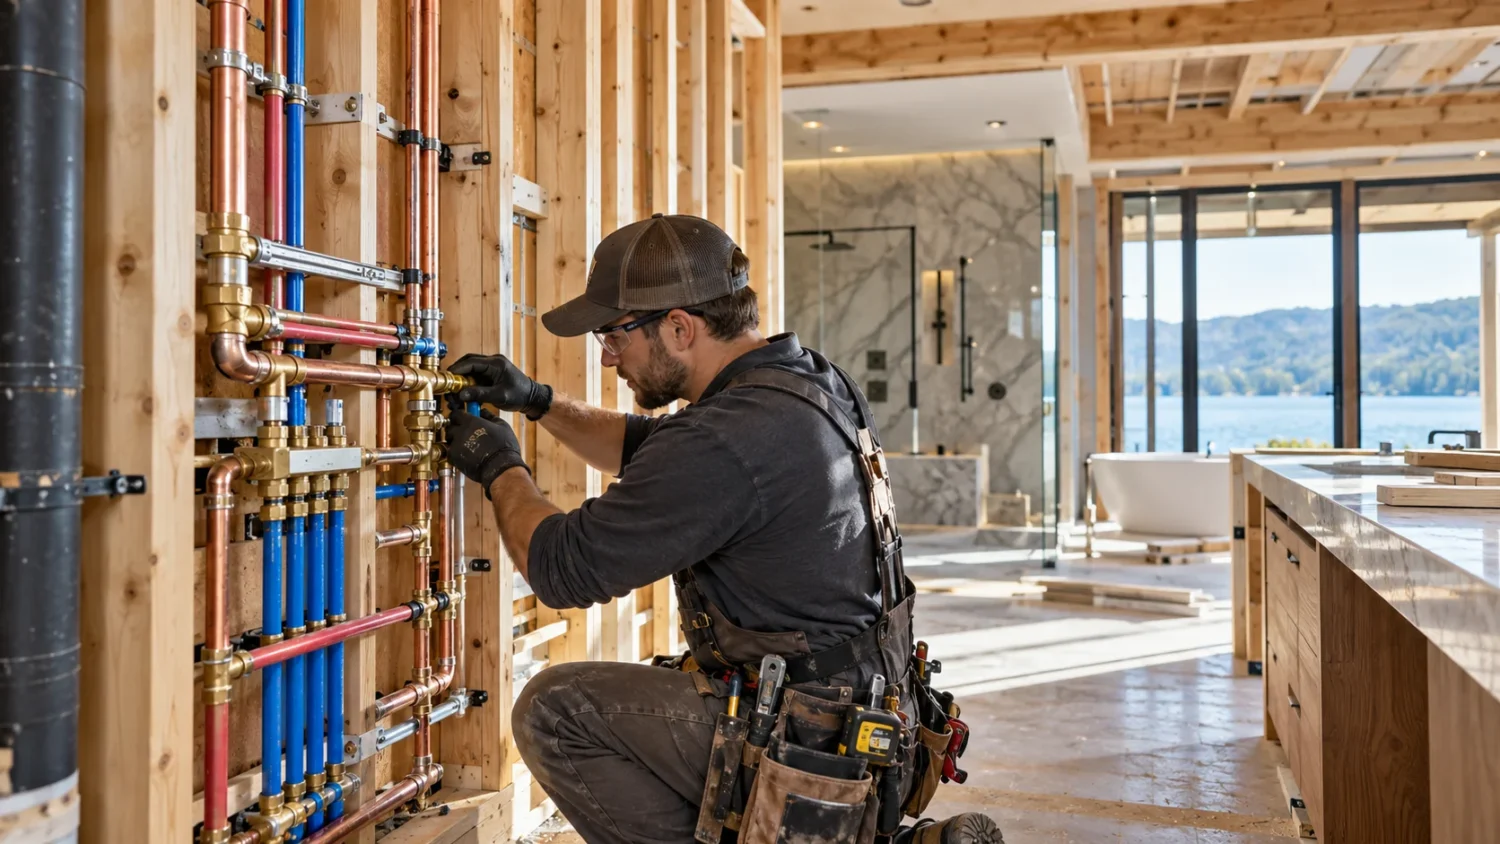
Material choice affects your home for decades, so treat it as a design decision rather than a last-minute swap to save a few dollars per meter. Copper resists corrosion well and suits both hot and cold lines, though it costs more upfront and needs a licensed plumber for soldered joints. PEX is flexible, quick to install and forgiving around tight framing, which is why it shows up so often in multi-story custom builds with long pipe runs. PVC still handles drainage and venting well, provided it’s rated for the application and installed with the correct falls for gravity flow. Your site matters here too. A coastal build exposed to salt air faces different corrosion risks than an inland block, so ask your plumber which material suits your water chemistry, your budget and your climate before locking anything in. Hard water areas can shorten the working life of some fittings, and a plumber who knows your local supply will steer you away from materials that scale up quickly.
Lock In Fixture Placement Before the Walls Close
Once framing goes up, every fixture location becomes a negotiation with studs, noggins and structural beams. Decide early where the freestanding bath will sit, whether the ensuite gets a rain shower head that needs extra ceiling clearance, and how many water points a kitchen island with a prep sink will require. Wall-hung toilets and vanities look sleek, but they need in-wall carrier frames fitted before the plasterboard goes up, so that choice must be locked in months before picking tile. A kitchen island with a sink or cooktop usually means running water and waste lines through the slab or subfloor, and that’s far easier to plan before the concrete truck arrives than to retrofit afterwards. Walk the frame with your builder and plumber together at least once, standing physically where each fixture will go, before anyone closes up a wall. Bring a tape measure and check door swings and towel rail clearances at the same time, since a beautifully placed tap does little good if the door can’t open past it.
Plan Hot Water and Drainage Together
Hot water and drainage rarely get discussed in the same conversation, yet they’re connected in ways that shape daily comfort. A continuous-flow gas system or heat pump unit needs a defined spot, adequate clearance and often a condensate drain, so pick its location before the exterior cladding plan gets finalised. Long pipe runs between the hot water unit and distant bathrooms mean longer waits for hot water at the tap, and a recirculation loop can fix that if you plan for it now; retrofitting one later costs a lot more. On the drainage side, gravity does the work, so falls must be calculated against your site’s slope well before footings go in. A steep grade towards the street behaves very differently to a flat block that may need a pump-assisted system to move wastewater at all. Get a survey of the site’s fall done before finalising floor levels, since a few centimetres of unplanned slope can change which rooms can drain by gravity and which can’t.
Build In Water Efficiency From the Start
Water-efficient fixtures aren’t only good for the environment; they cut ongoing bills and, in some council areas, factor into what gets your plans approved. Every tap, showerhead, toilet and washing machine sold in Australia carries a star rating under the Water Efficiency Labelling and Standards scheme, and higher-rated fixtures use substantially less water without much drop in day-to-day performance. Specify these ratings on your fixture schedule when you choose finishes. Leaving it to whatever happens to be in stock at the plumbing supplier usually means settling for a lower rating than you wanted. Rainwater tanks plumbed to toilets, laundry or irrigation can trim mains water use further, though they add a second network of pipework that needs its own falls, backflow protection and access points. Settle on this system while the plan is still a line drawing on paper, because retrofitting a tank connection later usually means trenching through an already-finished garden.
Coordinate Plumbing With Other Trades Early
Plumbing doesn’t happen in isolation on a custom build. Electricians need clearances around wet areas, tilers need waterproofing membranes finished before fixtures go in, and cabinet makers need exact rough-in measurements for vanities and kitchen units. A weekly trade coordination meeting during the rough-in stage catches clashes, like a light switch planned exactly where a pipe needs to run, before anyone has to cut into finished work. It also pays to think about how the system will age once the family has moved in. Cheap fittings or a rushed installation now can turn into the sort of gradual damage covered in guides detailing the signs your pipes need relining, and repairing a wall or slab later costs far more than getting the layout right the first time around.
Leave Room for Access and Future Repairs
Even a well-designed plumbing system needs servicing eventually, so build in access from day one. Someone will need it later, and putting it off just shifts the cost onto whoever owns the house 15 years from now, which may still be you. Inspection openings for shower waste, cleanout points on the main drain line and a documented record of where every pipe runs will save your future self, or the next owner, a great deal of guesswork. Avoid boxing in a hot water valve or water meter behind fixed cabinetry that would need to be torn out just to shut off a tap. Keep a copy of the final plumbing plan somewhere you’ll actually find it again, noting pipe materials and fixture locations, because that single document can cut a two-hour repair job to twenty minutes. Hand a copy to whoever manages the property after you, whether that’s a future buyer or a property manager, so nobody has to start from zero again.
A custom home rewards the owners who treat plumbing as part of the design rather than a hidden system to deal with once the walls are already up. Map your water needs, get the code right, choose materials suited to your site, and leave room to service everything later, and you’ll spend far less time and money fixing problems that early planning could have prevented. The best moment to work through all of this is now, while the plans are still lines on paper, well before they turn into pipes sealed inside a wall.